I’ve had the TruShine gel enamel system since July, when consultants were allowed to purchase at the National Conference. I’m really glad I did – it’s given me time to trouble-shoot, try out different combinations and colors, and get the removal process perfected – all before it was released to the public.
Here’s my review from application through removal!
First, a confession. I LOVE the Jamberry wraps. I love the designs, which I would never be able to achieve on my own. But the wraps with the sparkle finish just never lasted very long for me. After about a week, they just didn’t look great. I’ve never had issues with any of the other designs or finishes – JUST the sparkle wraps. So that was my first real test of the gel system: layering it OVER a sparkly wrap and seeing if it actually helped them last longer.
Applying Jamberry’s TruShine Enamel over Jamberry Wraps
1. Apply the Jamberry Nail Wraps:
So much easier than you think. And a lot less time-consuming than you’d think, too! First, apply your Jamberry nail wraps as you normally would. Remember – prep is essential! Make sure you get all of the oils off of your cuticles, nail beds, and hands before applying. Also, and this is **especially important** for layering the gel over the wraps, make sure you can see a bit of your nail all along the edge of the wrap. Don’t let any of the wrap touch your skin, or you WILL get lifting.
2. Lightly Buff the tops and tips of the wraps.
Seriously – just do it 🙂 The gel needs a little somethin’ to grip and adhere too. If you’re applying the gel enamel directly to your nails, you STILL need to buff your nails. Then, wipe your nails with an alcohol wipe or cotton pad soaked in rubbing alcohol. This cleans any dust and oils that may have accumulated while you were prepping and buffing.
3. Apply the TruShine BASE coat.
Be sure to follow the directions on the bottle – which includes shaking it to mix the enamel inside. Then, taking care to only paint your nail bed and leaving room around your cuticles, apply one THIN coat of the TruShine base coat. This is VERY important for getting a long-lasting gel manicure that will cure properly – you MUST use THIN coats. “Cap” the tips of your nails to create a strong seal all along the tips. Don’t skip this step- it really does cut down on the chips and increase the durability of your manicure. Wipe off any excess around your cuticles or under your nails with an orange stick.
Cure the base coat in the Jamberry LED-light for 45 seconds/ (The light will automatically turn off.)
4. If using a color coat, apply the color enamel.
If you’re applying the TruShine over nail wraps, you’ll skip this step. If you’re using one of the TruShine color coats, apply one THIN coat, capping the tips as you did when applying the base coat. Again, wipe off any excess with an orange stick and then cure. Apply additional coats until the desired color is achieved, curing after each color coat.
5. Apply the TruShine Top Coat.
This is the step that you will have to REALLY concentrate on getting thin coats. The top coat is a thicker formula than both the base and color coats, so just be aware of that as you’re applying. Cure the top coat in the light.
6. Wipe! Go ahead – it’s okay!
It won’t smear. After you’ve cured the top coat, you’re ready to wipe off the “tackiness” and be left with an extremely glossy, rock-hard manicure. I like to use the Jamberry alcohol wipes (they come in the kit!). If you don’t have them, a lint-free cotton pad soaked in rubbing alcohol will do the trick.


Pro Tips for Application:
- Shake the bottle!
- Apply thin coats – three thin coats look much better and cure more evenly than a couple of thick coats.
- Apply start-to-finish with your fingers, THEN go back and do your thumbs together. This way your thumbs don’t cure at an angle in the light, as they would if you tried to do your entire hand at the same time.
- Use the Jamberry light. While other lights may cure the polish to the right hardness, other lights may cause the TruShine gel to shrink or discolor.
- Applying the base and top coats over Jamberry wraps makes the wraps last up to two weeks longer – and makes removal EASY and gentle.
Removing Your Jams when UNDER TruShine Gel Enamel.
*** This method will ONLY work when you have Jamberry wraps on your nails, under the gel. If you have gel directly on your nail beds, please check out my first post on the removal process!
I’ve posted this video before, but here it is with the rest of my review. This is what I REALLY loved, and why I’m a true believer in the TruShine product now. As I said before, the sparkle wraps just never worked as well for me. They lifted at the tips after a week or so and occasionally I’d snag my hair in the edges. I NEVER had this issue with any of the other styles.
With the TruShine layered on top, I got two weeks of wear from these Cosmos sparkly wraps, which I changed ONLY because I got bored. SOLD.
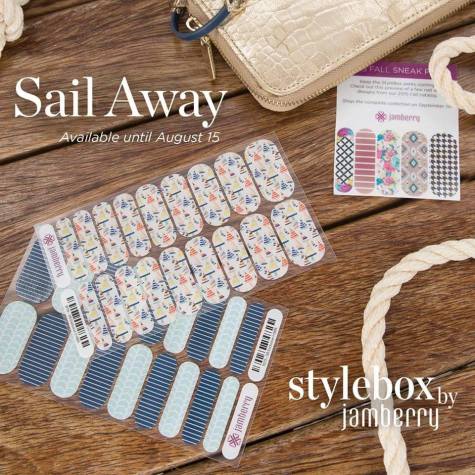
 There are several things that I LOOOOVE about Stylebox.